HOW TO INSTALL ACRORIP V9.0.3
STEPS ON HOW TO INSTALL ACRORIP V9.0.3

Many tutorials how to install Acorip 9.0.3 only in windows 10 with
32-bit processor, but in this post I will share how to install in windows 10
with 64-bit processor. For how to install Acrorip 9.0.3 on 32bit
please Acrorip 9.0.3 crack article. To install AcroRip
9.0.3 on windows 10 64bit is not complicated, you just need to follow the steps
from first to finish. How to install AcroRIP version 9.0.3 that I give to you
this full version. If you do not have Acrorip 9.0.3 software, you can download
it here first, Acrorip 9.0.3 download.
If you have already installed AcroRip 9.0.3 in windows 10 64 bit, do not
forget to follow also setup tutorials to finish to be able to use Acrorip 9.0.3
correctly. For tutorial How to install and setting
acrorip version 8.2.3 64-bit you can search on google. Here I will give
tutorial how to install Acrorip 9.0.3. How to setup AcroRip version 9.0.3
can also be used for UV LED or DTG printer UV printer, so if you have this
software a lot of profit also because it can be used in 2 machines at once, DTG
printer for T-shirt print and DTG UV Printer.
DTG
printers for t-shirts are required to have the Acrorip 9.0.3 software to run
t-shirt prints. This latest Acrorip 9.0.3 software can print one way, one
print on the black shirt is the color ink and the white ink comes out
simultaneously in 1 print (One Phase DTG Printing), so it’s faster than 2 phase
print. AcroRip 9.0.3 is required to install on your computer because it is
very helpful in the speed of printing t-shirts. By installing this AcroRip
9.0.3 software you will be able to print in dark and light shirts. For
steps install and seting AcroRip 9.0.3 in windows 10 64 bit can follow below :
Steps
to install Acrorip 9.0.3 on windows 10 64bit.


6. Right-click “_prereqSet64v3-10” and select “Run as administrator”.

7. After the success please press any key on the keyboard then Restart.
8. After Restart make sure there is still writing “Test Mode” below the right of the monitor screen.
9. Then turn off again antivirus on the computer.
10. Re-open the “Emulator-1” folder and open the folder “mlVMULTI001-X64”.


12. Open “dseo13b” then select “Sign a system file”.
13. Click “Next” then copy-paste from file “Sign a system file code” to “insert filename”.

15. Double click “Registry File” then select “YES” then click “OK”.

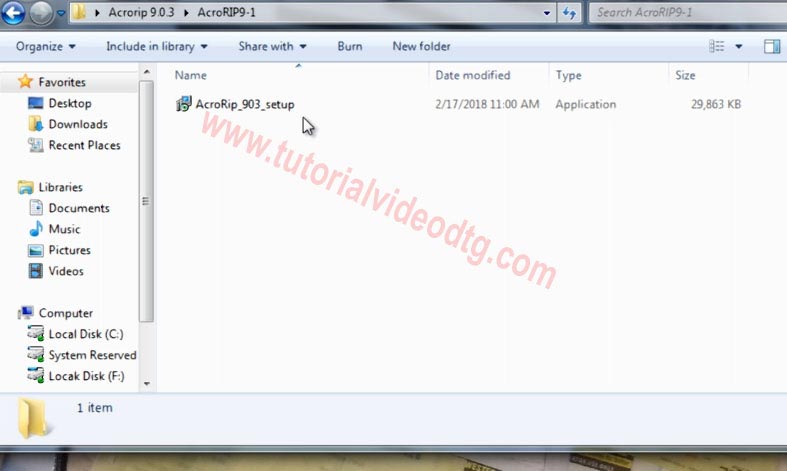
16. Open the folder “AcroRIP9-1” then install “AcroRip_903_setup” until finished.
17. Uncheck “Launch PartnerRip” then Restart.
18. After restart, turn off the antivirus again.
19. Make sure there is writing “Test Mode” below the right of the monitor screen and run Acrorip 9.0.3.
fter install Acrorip is complete, next step is setting Acrorip 9.0.3. Please run the program Acrorip it, then follow the steps of setting Acrorip 9.0.3 below.
Steps to setting AcroRip 9.0.3 on windows 10 64 bit.
- Run AcroRip 9.0.3.
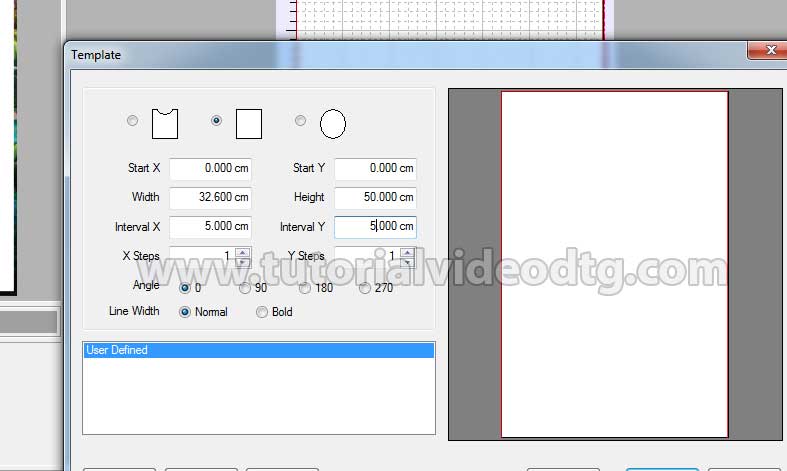
- Then go to the “View-Template” menu.

- Open any file to enable templates.
- Select the template box then Fill the width 32.6 cm and height 50 cm then click “OK”.
- Select the BAR “Printer” menu at the bottom right.

- Setting the printer name used, USB Printer Port, and Check Paper Size OFF then setup the resolution on white and color. For Resolution (White) 1440 x 1440 DPI and for Resolution (Color) 1440 x 1440 DPI.
- In the BAR “Color” in the contents “YKWWMC, Ink limit color 80-100% and white limit ink 200%

- Select BAR White then setting, check “Remove Black Ink”.

Comments
Post a Comment